4. Set Up Your AI Workbench
You will finish this chapter with a named project folder, a recorded toolchain, a baseline software check, and an explanation of what your agent can access. Begin with the Chapter 3 brief and a copy of checkpoint CP00. Keep authentication private. The core path uses an editor, Git, a host compiler, and Arduino CLI; no physical board or separately billed API is required.
Setup succeeds when you can inspect and reproduce work in a known place. A row of installed icons is not enough. We will connect each tool to a small action: the editor displays source, PowerShell shows the current folder, Git identifies repository state, the compiler checks code, and the agent reports which files it actually used. When something fails, these boundaries help locate the problem.
1. Understand accounts, usage, and privacy
Browser chat, a coding agent signed into a subscription, and an API are different access paths. The course uses the browser and the selected Codex subscription sign-in path. It does not require putting an API key in the project or enabling separately billed usage. Available features and limits can change; check the current official account information and the controls actually shown to you. The edition's pilot verified a dedicated Free account could perform the bounded Codex task; that observation does not promise unlimited course access. Codex pricing and access
If you reach a limit, save your files and use the original reference responses included with the exercises. You can still practice claim annotation, write briefs, read diffs, and run local checks. Record which AI interactions you performed and which supplied examples you analyzed. Do not label an offline analysis as a new model run. Resume the agent exercise when the included access is available.
Before sharing material with any service, inspect what the request includes. A short code excerpt may be sufficient; a whole folder may include unrelated data. Use a practice project whose contents you understand. The recorded course uses a separate demonstration profile and book accounts. You do not need to reproduce the author's production infrastructure, but you should keep credentials, recovery codes, private messages, and unrelated work out of your learning artifacts and screen recordings.
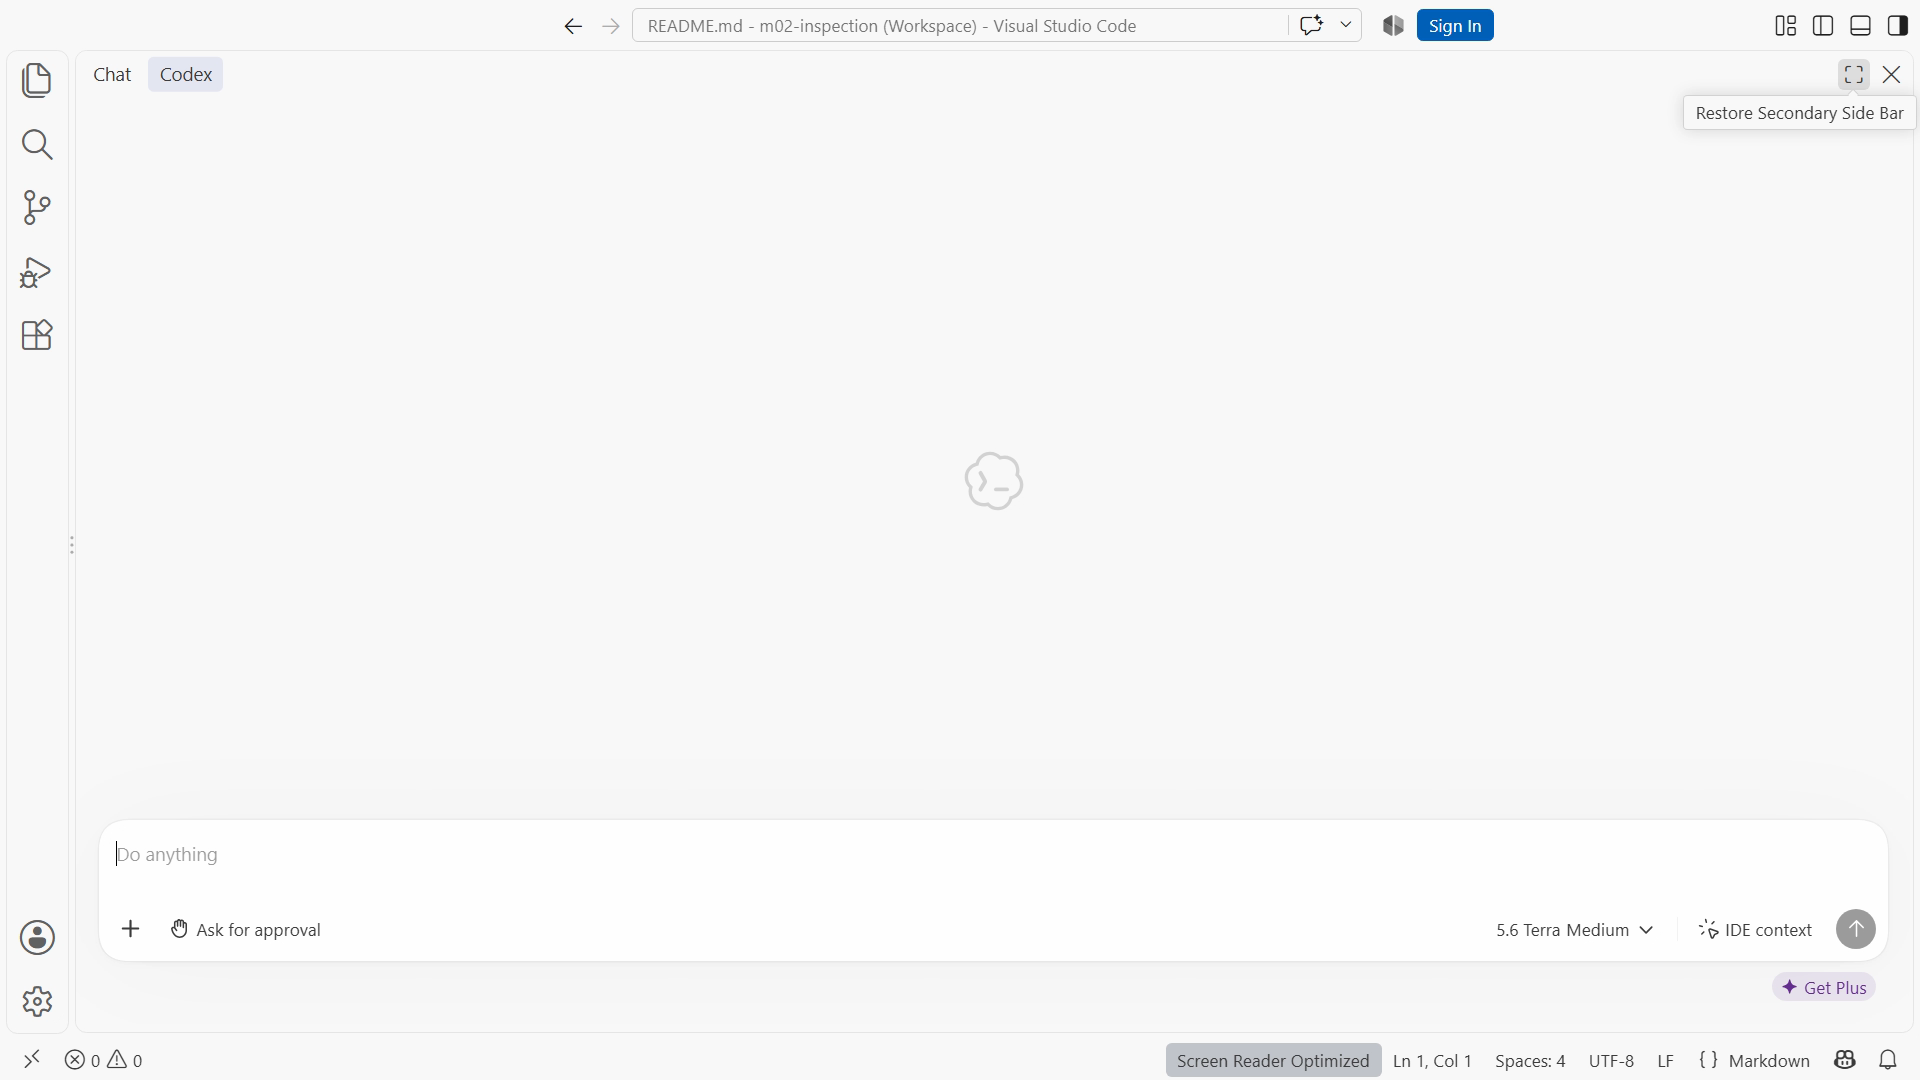
Sign-in screens can require human actions that cannot be prerecorded meaningfully. In the course video, the safe entry screen and post-login project state are shown with the private interval omitted. An omission of credential entry is not a failure to teach setup. The important observable result is that the intended account can use the intended project, without displaying secrets.
2. Install and identify the editor interface
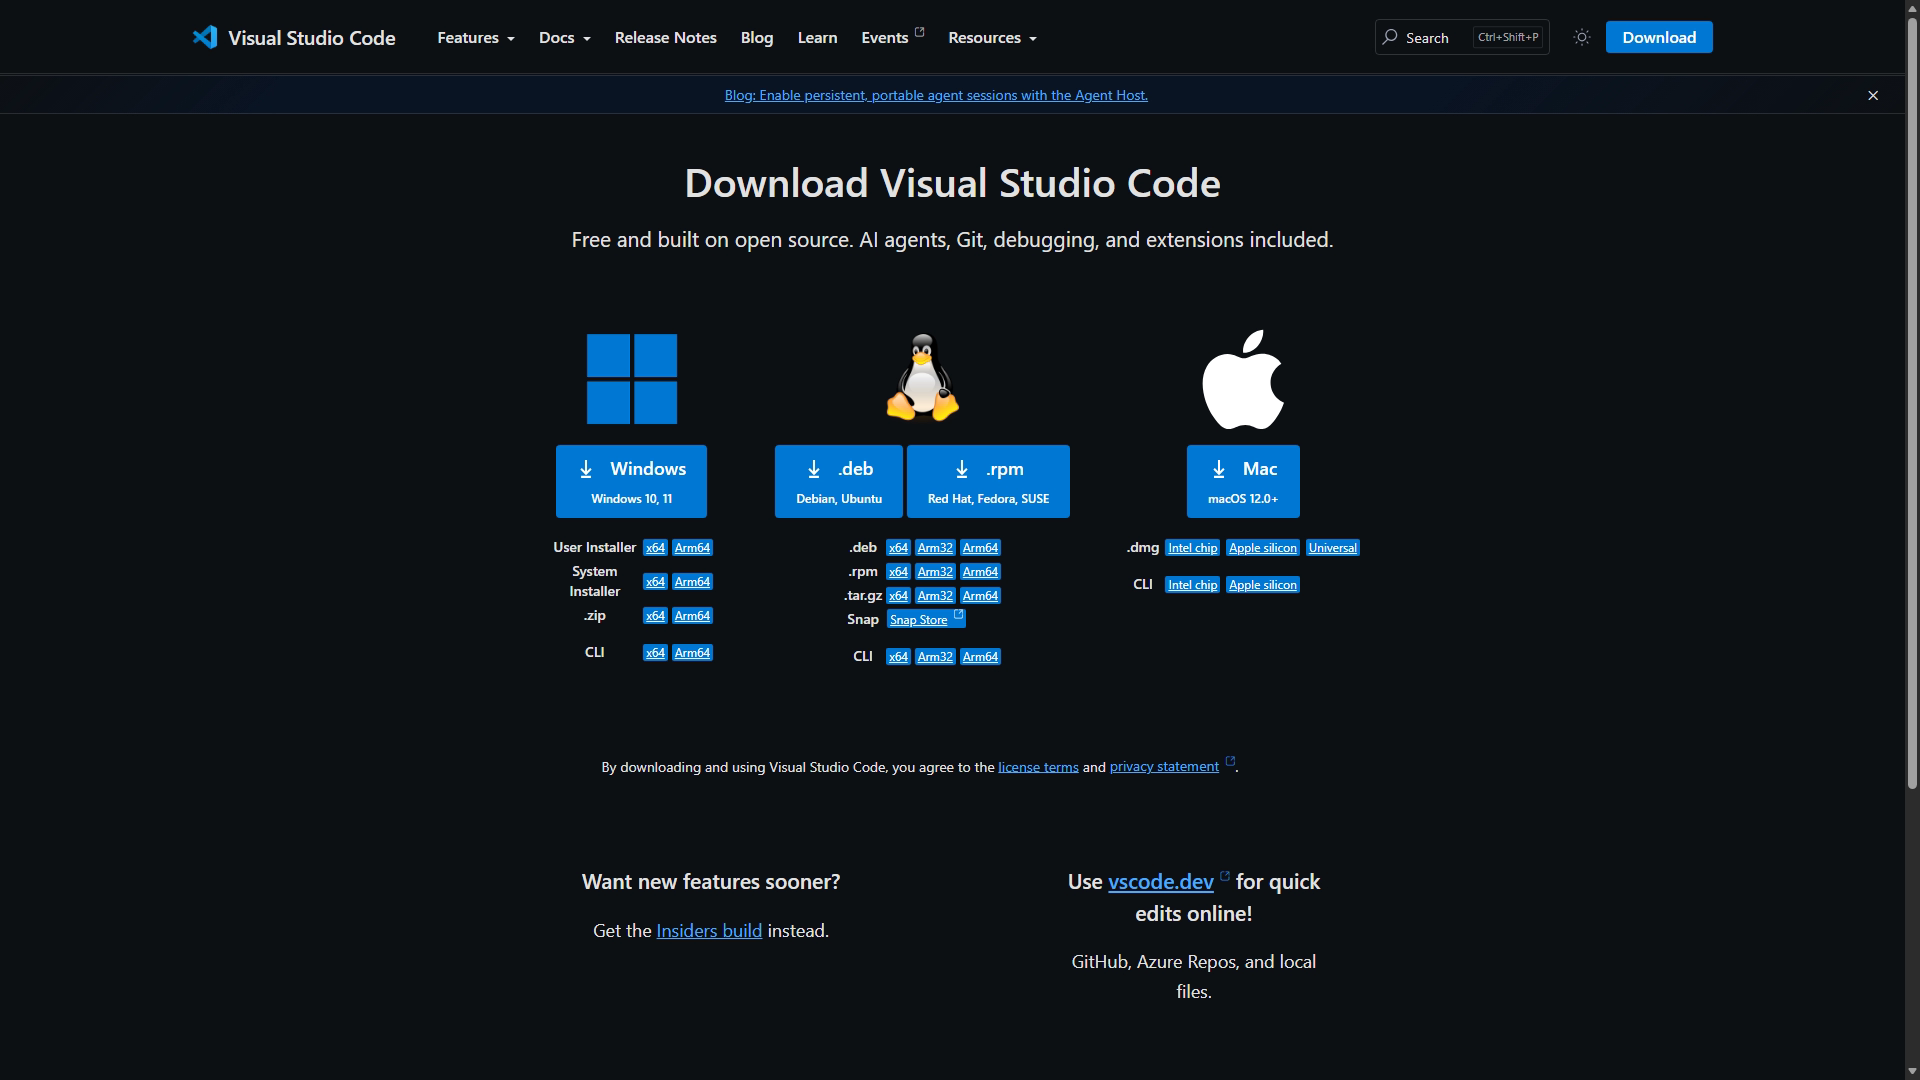
Use the official Visual Studio Code Windows setup page to choose the installer appropriate to your architecture. Windows on ARM and x64 Windows are distinct environments. The validated demonstration environment used the ARM64 User installer so ordinary editing ran under a standard user account. Follow the current installer instructions and restart the editor after installation. VS Code Windows setup
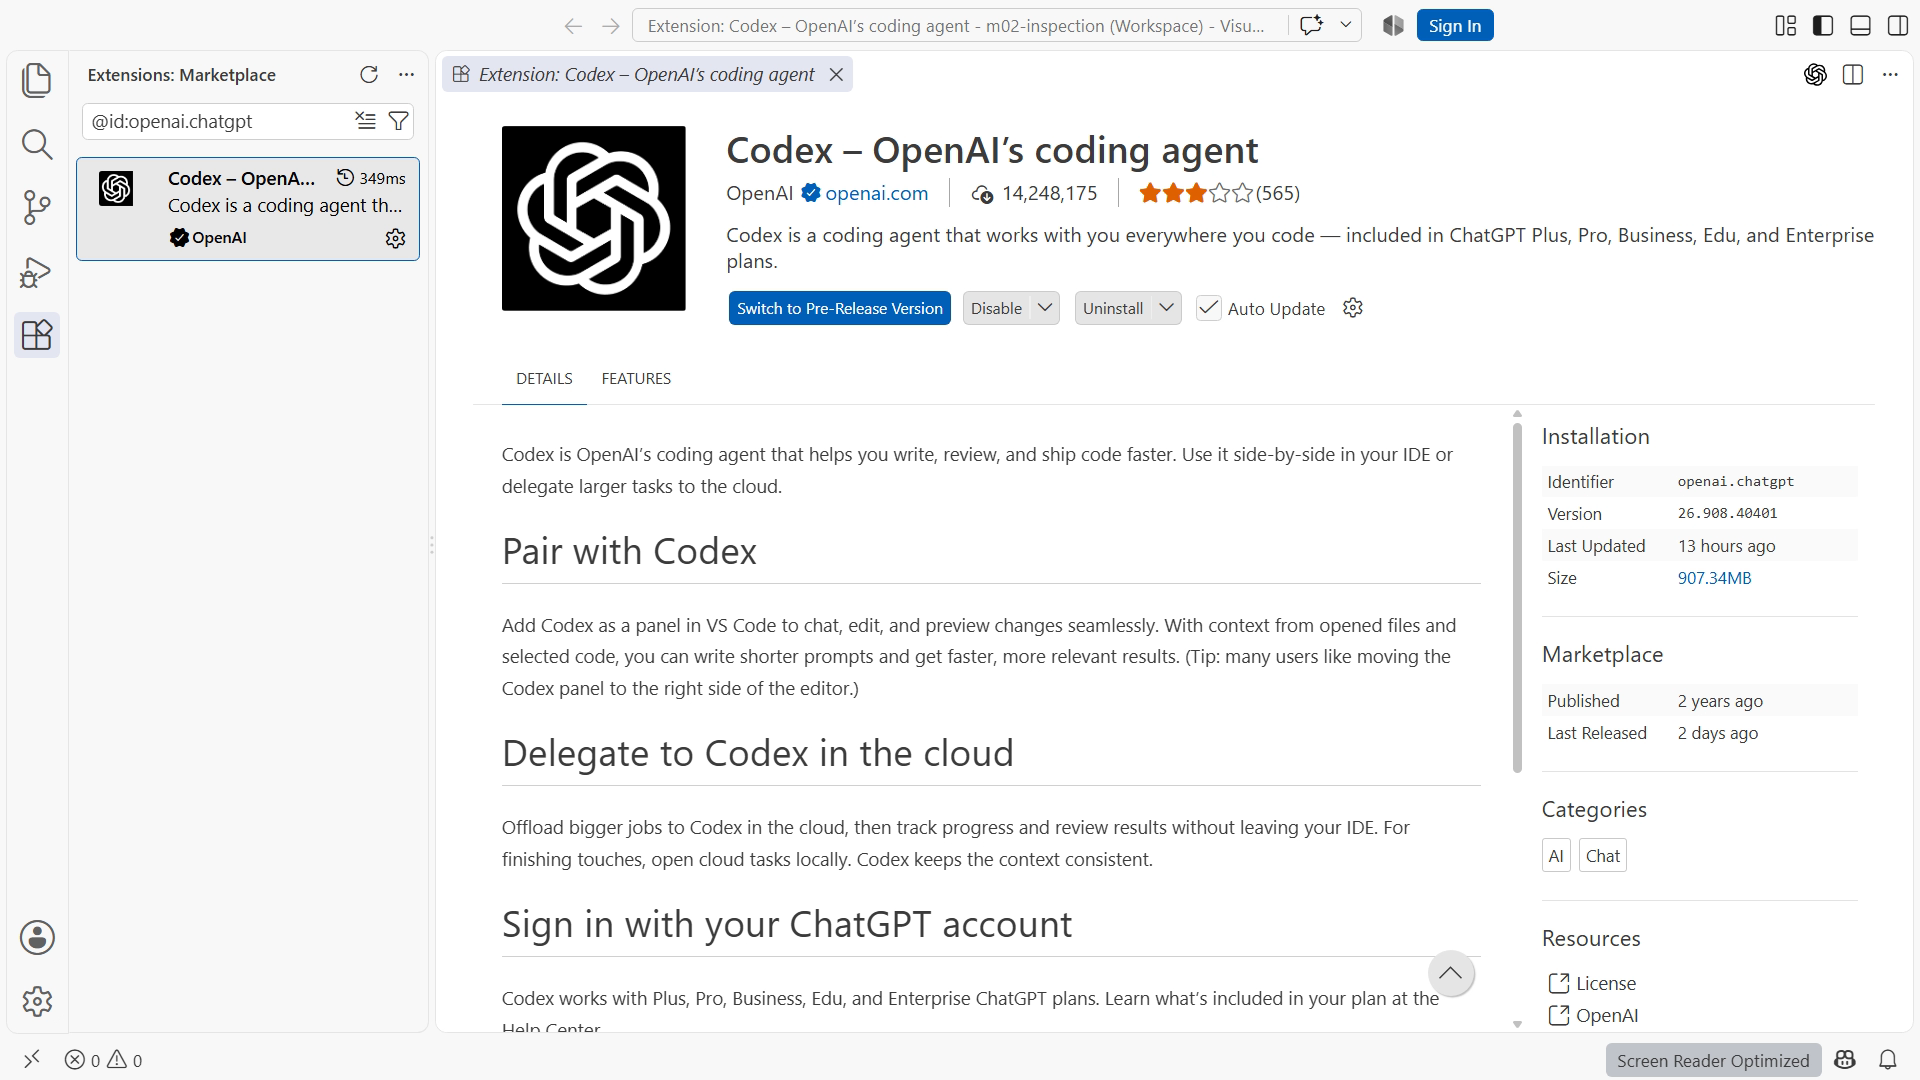
Open the Extensions view in VS Code, search for the official Codex extension, and verify its publisher against the official installation documentation before installing. Similar names are not proof of identity. Record the installed version in setup-record.md. If the interface differs from the screenshot, use the named function rather than assume a button stays in the same position. The Codex documentation is the source for the selected interface and sign-in flow. Codex IDE extension
The recorded setup for this edition used VS Code 1.137.0 ARM64 and Codex extension 26.908.40401 on Windows 11 ARM. It also used Codex CLI 0.154.0-alpha.6.2 for a separately recorded command-line pilot. An installed extension and a successful CLI task are different observations. Do not claim an editor-agent action occurred merely because the CLI could act in the same project.
Figure SS04-01 shows the official setup page used during the lesson. SS04-02 shows the installed official extension. SS04-03 shows a safe post-authentication project state. These are teaching records tied to the demonstrated version, not instructions to install an obsolete release forever. When using a newer version, record it and rerun the relevant checks.
3. Learn the folder and terminal boundary
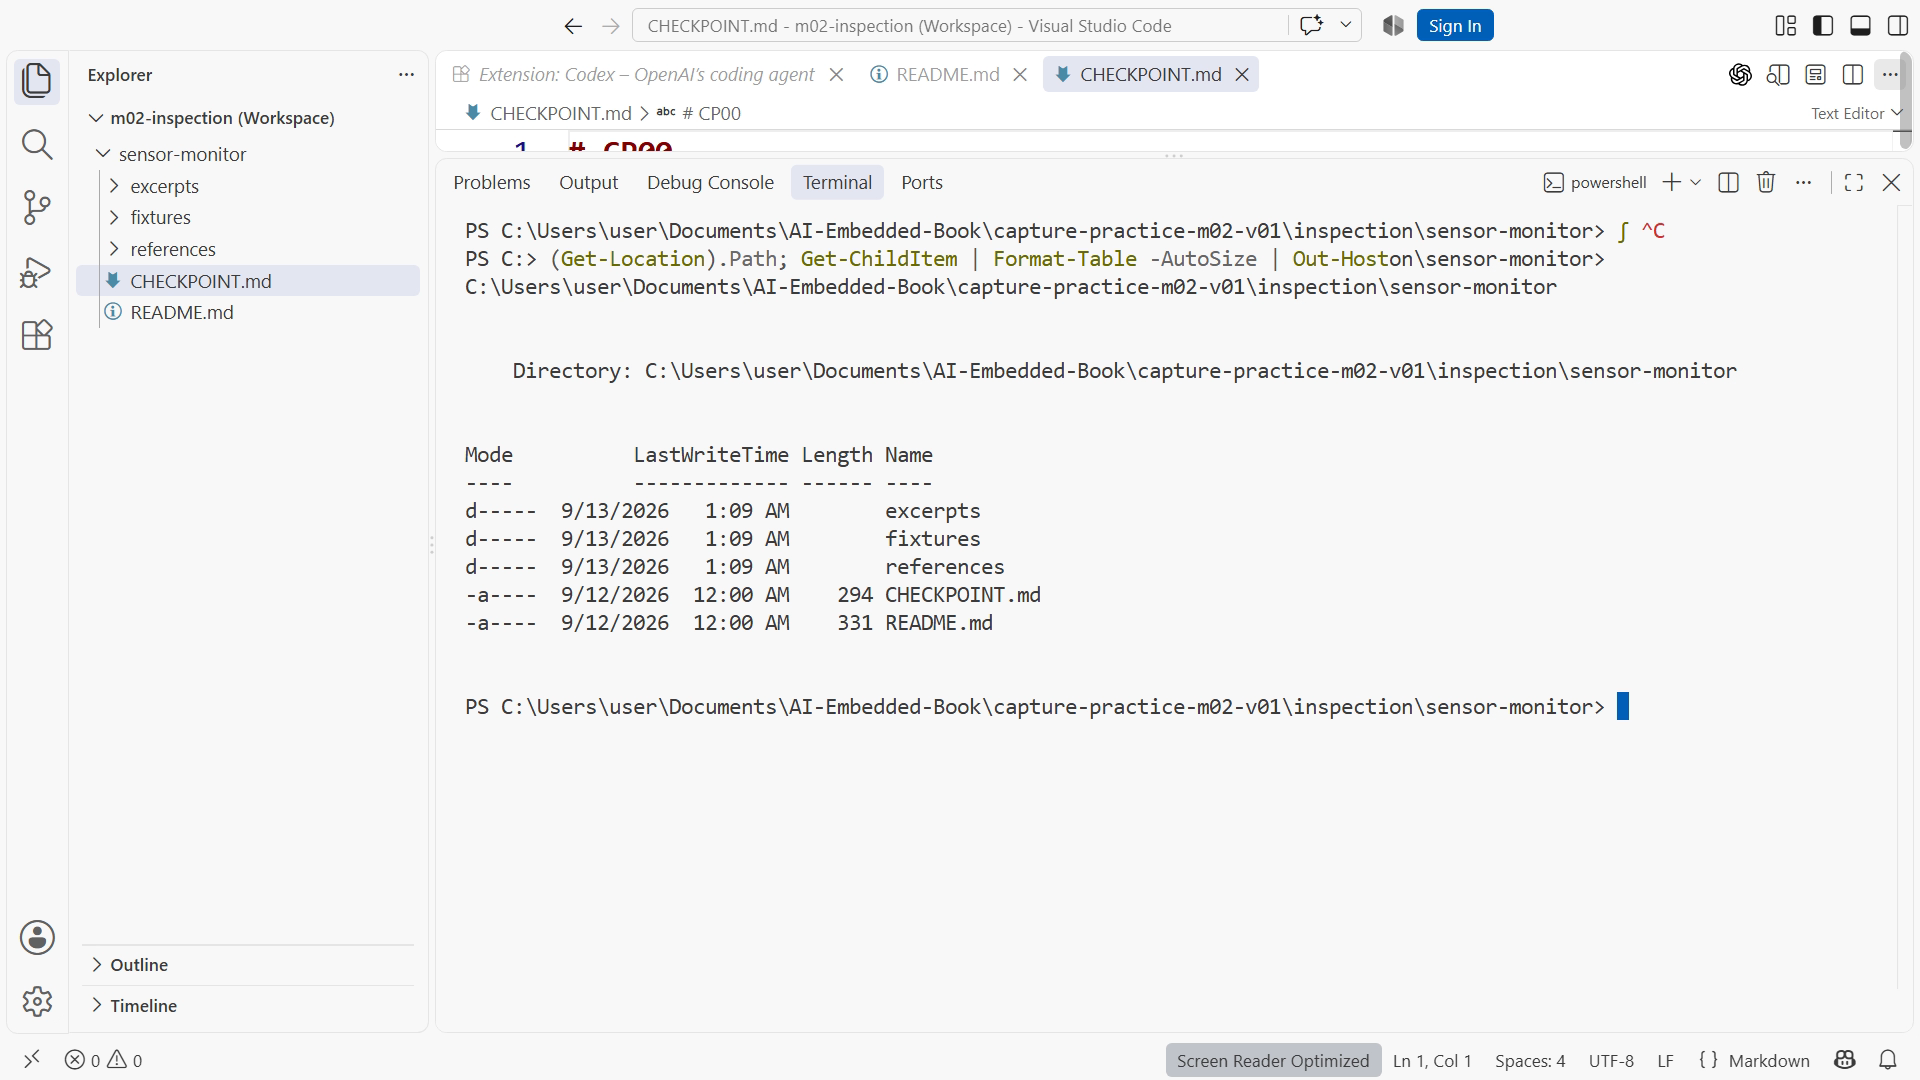
A terminal is an interface for entering commands and reading output. PowerShell is the shell used for the Windows examples. The working directory is the folder relative paths start from. Opening the right file in an editor does not guarantee that a terminal is in the same folder. Check before running commands that read or change a project.
Create a learning folder in a location you control, such as C:\BookLab, and extract the checkpoint into C:\BookLab\sensor-monitor. The path is an example; choose an equivalent local folder if necessary and substitute it consistently. Use VS Code's Open Folder command to open that exact sensor-monitor directory. Its Explorer should show the supplied resources and README, rather than a parent directory containing unrelated projects.
In VS Code, open a new integrated PowerShell terminal. Run these commands one line at a time:
# Context: PowerShell in the intended learner project.
Get-Location
Get-ChildItem
Get-Location prints the current folder; Get-ChildItem lists its contents. If the folder is wrong, change it explicitly:
# Context: PowerShell; substitute your actual extraction path.
Set-Location 'C:\BookLab\sensor-monitor'
Get-Location
Quotes keep a path with spaces together. The . in a path means the current directory. A path beginning .. moves to the parent. In the coming commands, .\scripts\replay.cmd names the Windows replay wrapper inside the current project's scripts folder. Keep paths intact when copying them from a page; a visual line wrap is not a new command.
Keep a terminal result with the command that produced it. A message saying “file not found” is hard to interpret without the working directory and requested path. Do not try random folders until the error disappears. Compare the README's expected tree with your extraction and decide which mismatch explains the failure.
4. Record the minimal toolchain
Install Git for Windows from its official distribution and follow the project README for the host compiler and Arduino CLI. Arduino CLI's documented installation options include downloadable binaries; the board platform and libraries are additional dependencies. A successful arduino-cli version does not establish that the selected ESP32 target is installed. Git installation, Arduino CLI installation
The bounded Windows ARM rehearsal used Arduino CLI 1.5.1, ESP32 core 3.3.11, and native ARM64 Clang 23.1.1. It compiled the pilot and executed its synthetic policy checks under the standard user. That validates the recorded combination for that exercise. The complete reference project has its own dependency record and release checks; follow its dependencies.json and README when building the full project.
Run the available version commands in PowerShell and copy their actual output into your record:
# Context: PowerShell in sensor-monitor; these commands inspect installed tools.
git --version
arduino-cli version
clang++ --version
If the project selects a different supported host compiler, record that compiler and its command instead. Do not rename an executable or copy it into a system folder merely to make the example command work. Follow the documented installation path, then open a fresh terminal so it receives updated environment settings.
Your setup record should name date, operating system and architecture, editor and extension, shell, compiler, Arduino CLI, board core, selected checkpoint, and commands run. Add result and limitation columns. “Compiler starts” is one result; “the CP01 host replay runs” is another; “firmware cross-build passes” is another. Recording them separately turns a future failure into a comparison with a known baseline.
5. Compile the supplied baseline without hardware
Open the reference project's README before running its scripts. CP00 is an inspection packet and needs no build. Use a separately extracted CP01 baseline for the executable setup check. From that CP01 project root, the primary Windows entry points are:
# Context: PowerShell in the extracted sensor-monitor project root.
.\scripts\replay.cmd
.\scripts\build-firmware.cmd
Run them individually and inspect each result before continuing. The first compiles and executes the minimal host report, which prints a fixed synthetic value. The second cross-compiles the baseline for the documented target. CP01 has no fixture parser or automated assertions; those arrive later. These .cmd wrappers require no PowerShell execution-policy change and manage the supported native runtime path inside their own process. Follow the matching dependency and setup records.
The expected observations are a successful host replay exit status, the fixed synthetic JSON sample documented in CP01, and a successful cross-build with generated artifacts. These are expected checks for your run, not claims that you have already performed them. Record actual output, including a failure. Do not copy the book's expected label into a result field without execution.
In the separately verified pilot, the deliberately wrong comparison failed only the 28.0 °C case; the corrected comparison passed all three synthetic cases. The pilot firmware cross-build produced 355,240 program bytes and 54,576 global-variable bytes with its recorded options. Those numbers belong to that pilot, not to every future project build. They do not establish a board upload, electrical operation, or measurement accuracy.
The explicit example target includes options as well as a board name:
esp32:esp32:adafruit_feather_esp32s3:CDCOnBoot=cdc,PSRAM=enabled,FlashSize=4M,CPUFreq=240,FlashMode=qio,PartitionScheme=tinyuf2_noota
Treat the full target configuration as part of the build input. Copy the value from the matching release instructions rather than reconstruct it from memory. A similarly named board menu selection is not necessarily the same build.
6. Worked example: inspect with bounded access
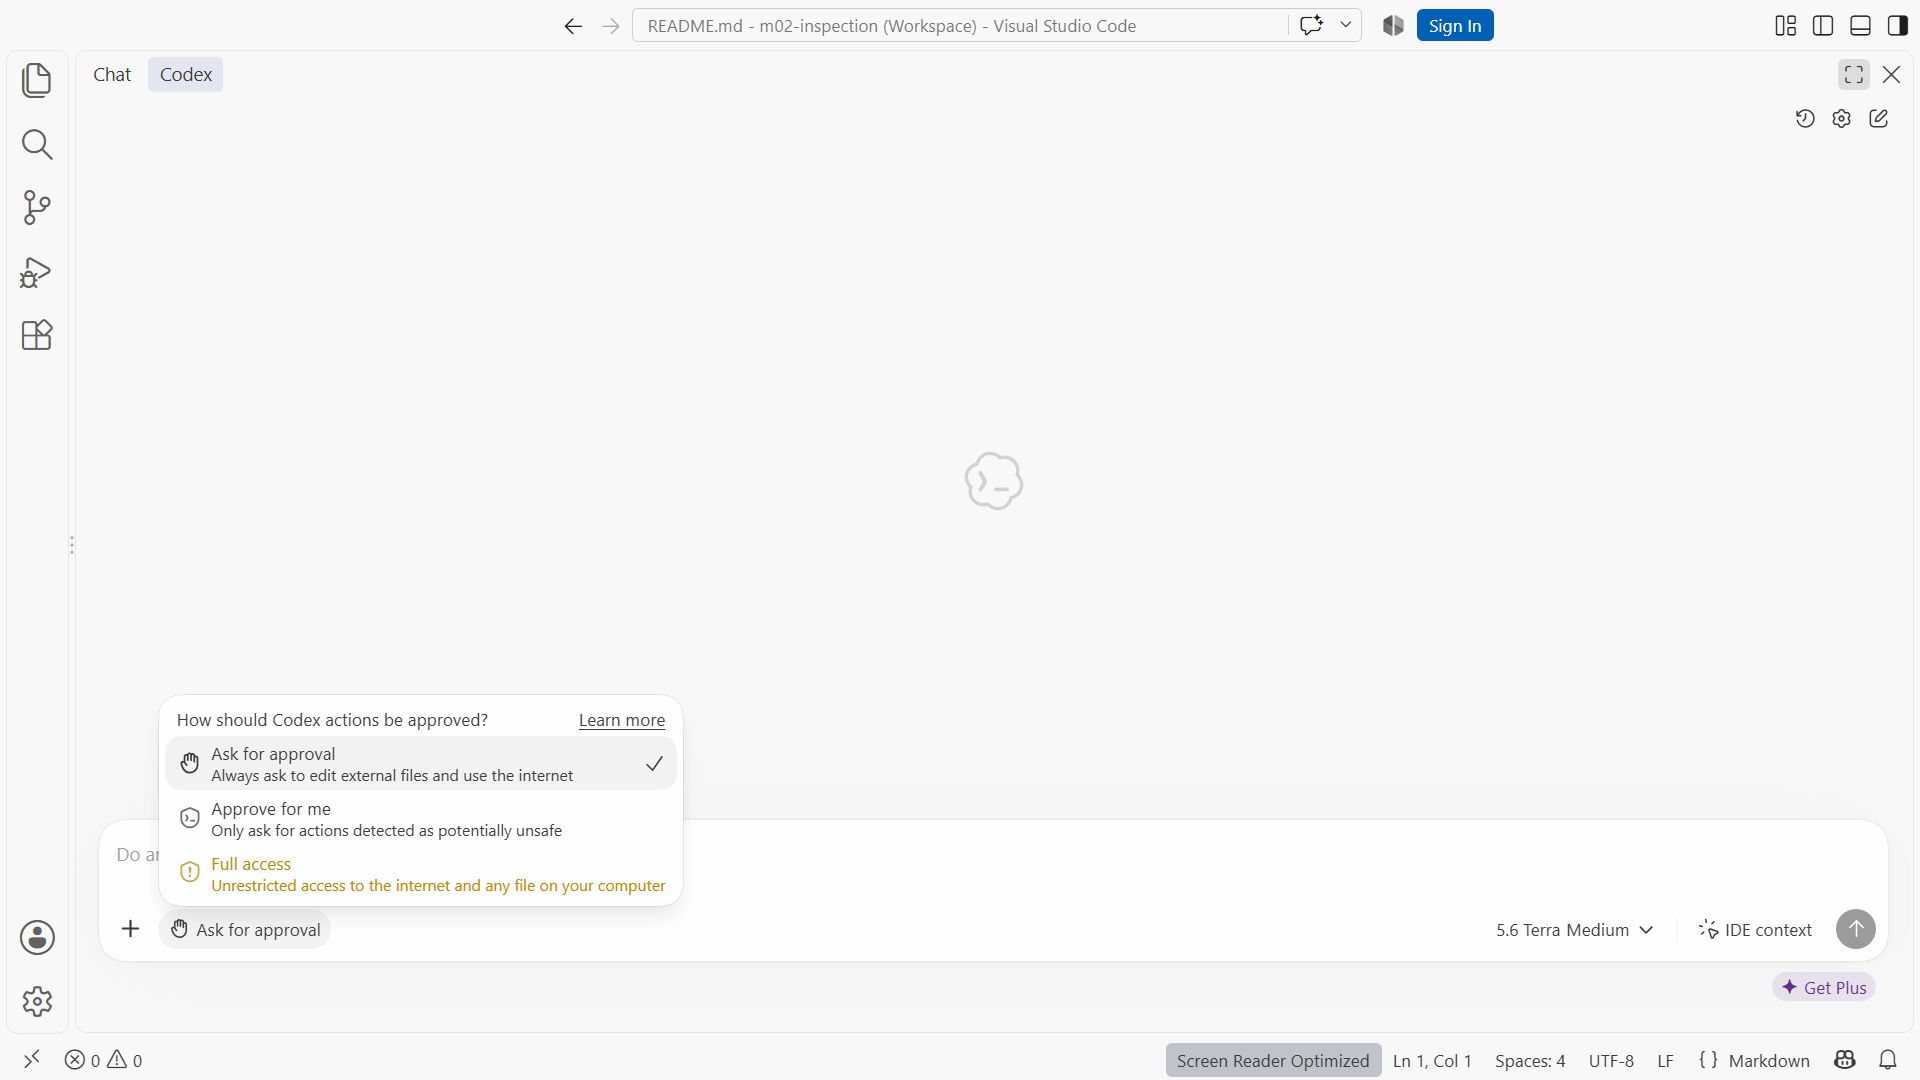
Open the Codex view and inspect its current access settings. Identify whether it can read files, write inside the project, execute commands, or use the network. The available controls and sandbox behavior vary by version and platform. The Windows documentation describes the selected sandbox choices; a prompt is not a substitute for those controls. Codex Windows sandbox
The edition's CLI rehearsal used a workspace-write scope with network access disabled and the supported unelevated Windows sandbox. That is a recorded configuration, not an instruction to weaken a machine's security or grant administrator access for everyday edits. Follow the current supported setup and keep your selected project scope narrow.
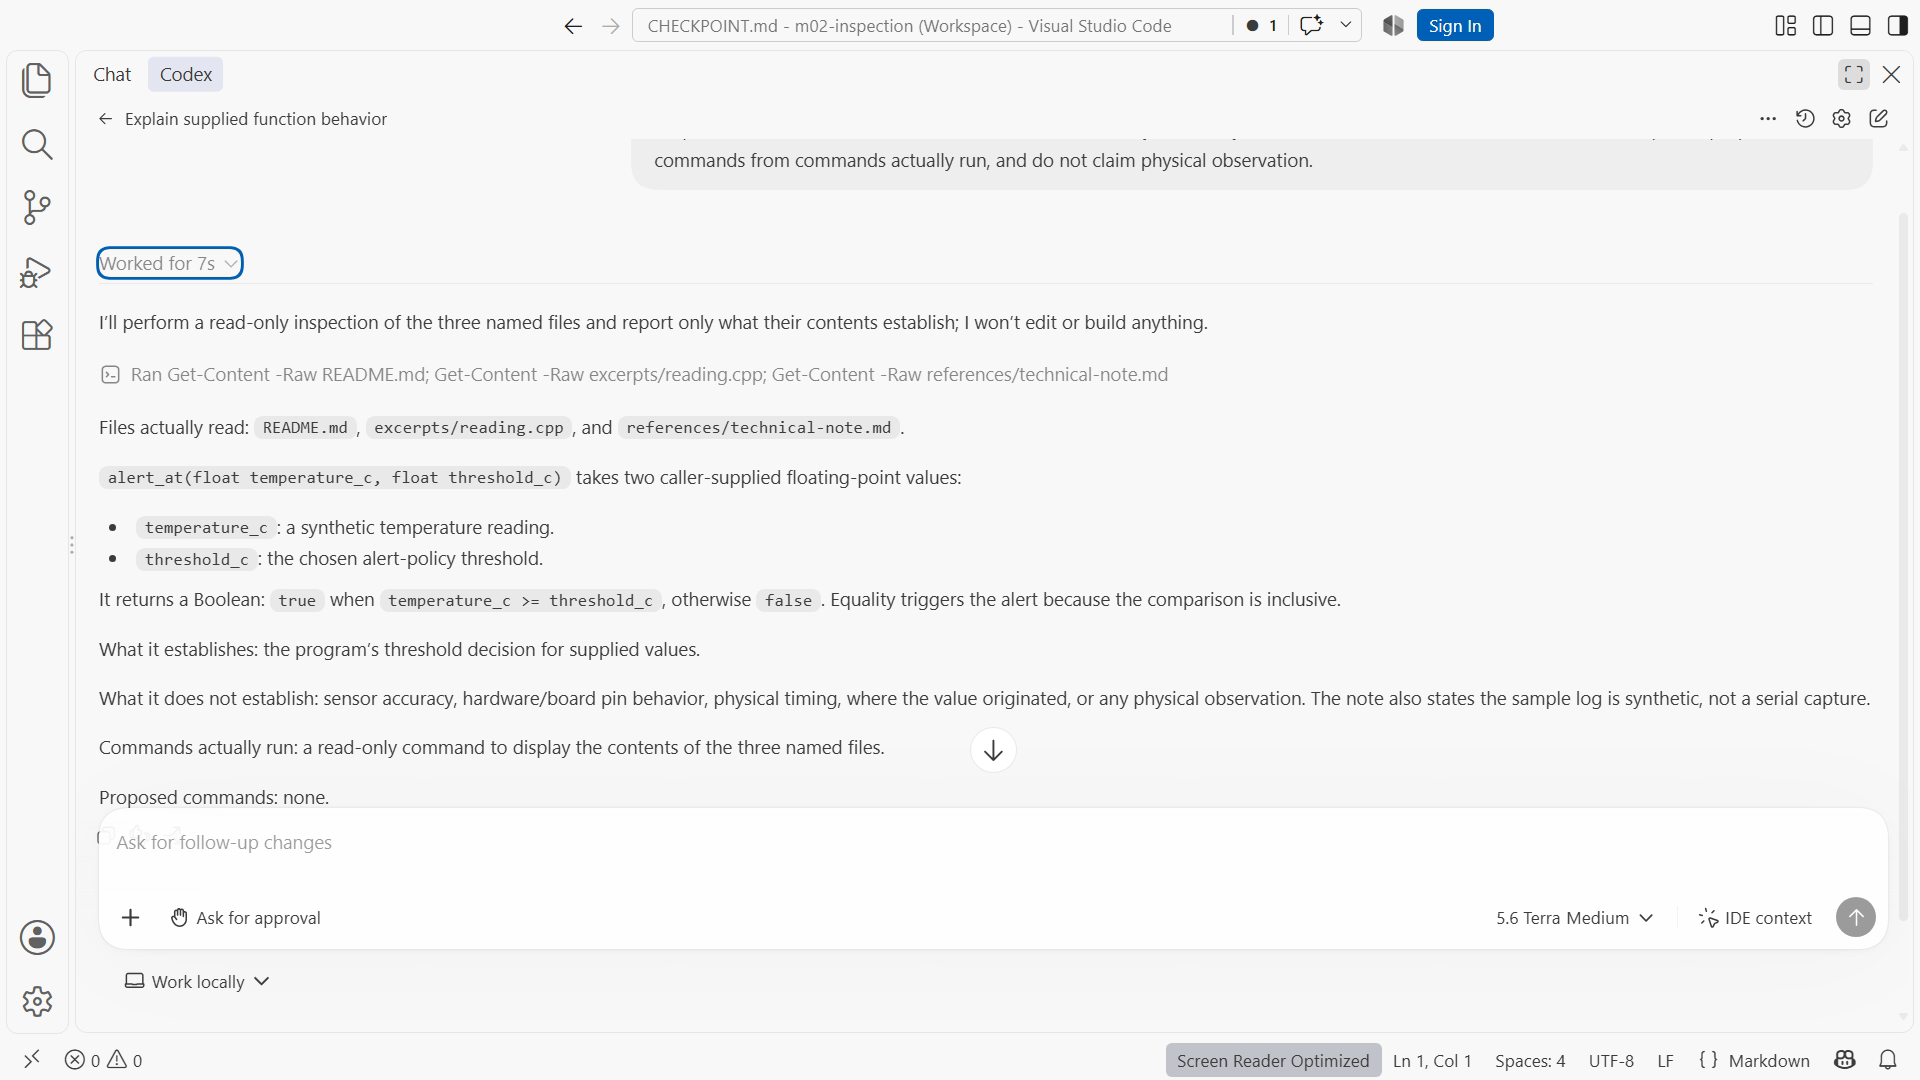
Submit this inspection brief: “Read the README and the introductory reporting example. Explain the input, output, and current verification limits. Do not edit files or run installation commands. Name every file you use, and separate commands you propose from commands actually run.” Watch the action record, not just the final paragraph. If it requests access beyond the intended task, inspect why before allowing it.
A good result names the actual files and explains the source it read. Compare its description with the open code. If it refers to a missing file or claims a physical test, mark the discrepancy and ask for correction. Figure SS04-04 shows the project folder; SS04-05 shows the relevant access configuration; SS04-06 shows the real inspection actions and result. Capture follows the actual interface behavior.
7. Lab LAB04: create a setup record
Your deliverable is setup-record.md and a short inspection review. Record the actual folder, tool versions, checkpoint, one baseline command, and its result. Then request a file-based explanation and identify at least two claims you can check in the files. State where a proposed command would run and whether it actually ran.
For success, the record must let you distinguish four outcomes: the tool is unavailable; the tool starts but the project check fails; the project check passes; or an account limit prevents the agent interaction. A learner who documents and correctly diagnoses an unavailable tool has made useful progress, but should leave the baseline check incomplete until it executes successfully. Do not turn an incomplete setup into a pass by borrowing another machine's output.
Stop the agent with the interface's stop control if it is doing the wrong task. After stopping, inspect files and terminal state before resuming. An interrupted turn may have completed some actions. Save the current state and start again with a brief that names what remains. “Stop” is a control action, not a guarantee that nothing happened before it.
8. Failure and recovery
For a wrong-folder error, run Get-Location and list the expected root files. Correct the path and rerun only the affected command. For a missing executable, use Get-Command git or the relevant tool name to see whether PowerShell can resolve it. Confirm the documented installation, then start a fresh terminal. For a compiler error, preserve the diagnostic and source state; reinstalling the editor is not a targeted remedy.
For an account limit, save the brief and use the supplied reference response while continuing local work. For a failed authentication step, complete the provider's private sign-in process and verify the post-login identity without recording secrets. These failures require different actions. Keeping them distinct prevents a minor path problem from turning into unnecessary environment changes.
Completion checklist
- I opened the intended folder and confirmed the PowerShell location.
- I recorded actual installed versions and the selected access path.
- I ran the applicable baseline check and saved its real result.
- I inspected an agent action record and checked its file-based claims.
- I kept synthetic, cross-build, and physical evidence distinct.
Review questions with answers
1. Why can an open file and a failing command refer to different projects? The editor's active document and the terminal's working directory are separate state. A relative path follows the terminal location, so inspect that location before diagnosing source behavior.
2. Does an installed extension prove agent access works? No. Installation, authentication, project access, and a successful action are separate checks. Verify each without inferring one from another.
3. Why keep the full board configuration? Build options can change the compiled target and resource use. Reproduction requires the actual configuration, not just a family name or a screenshot of a similar board menu.
Transfer exercise
Open a second small project you own. Without editing it, record its root, toolchain entry point, and one check you would run. Write an inspection-only brief that names the correct files. Compare this deliberate setup with the assumptions you previously made when asking for help.