M04-L02 — Make a useful README
Write setup instructions that can be followed without the old conversation. Use the Markdown page from M04-L01 or a new CP02 copy. The outcome is a README with purpose, prerequisites, working directory, first check, expected result, and recovery guidance.
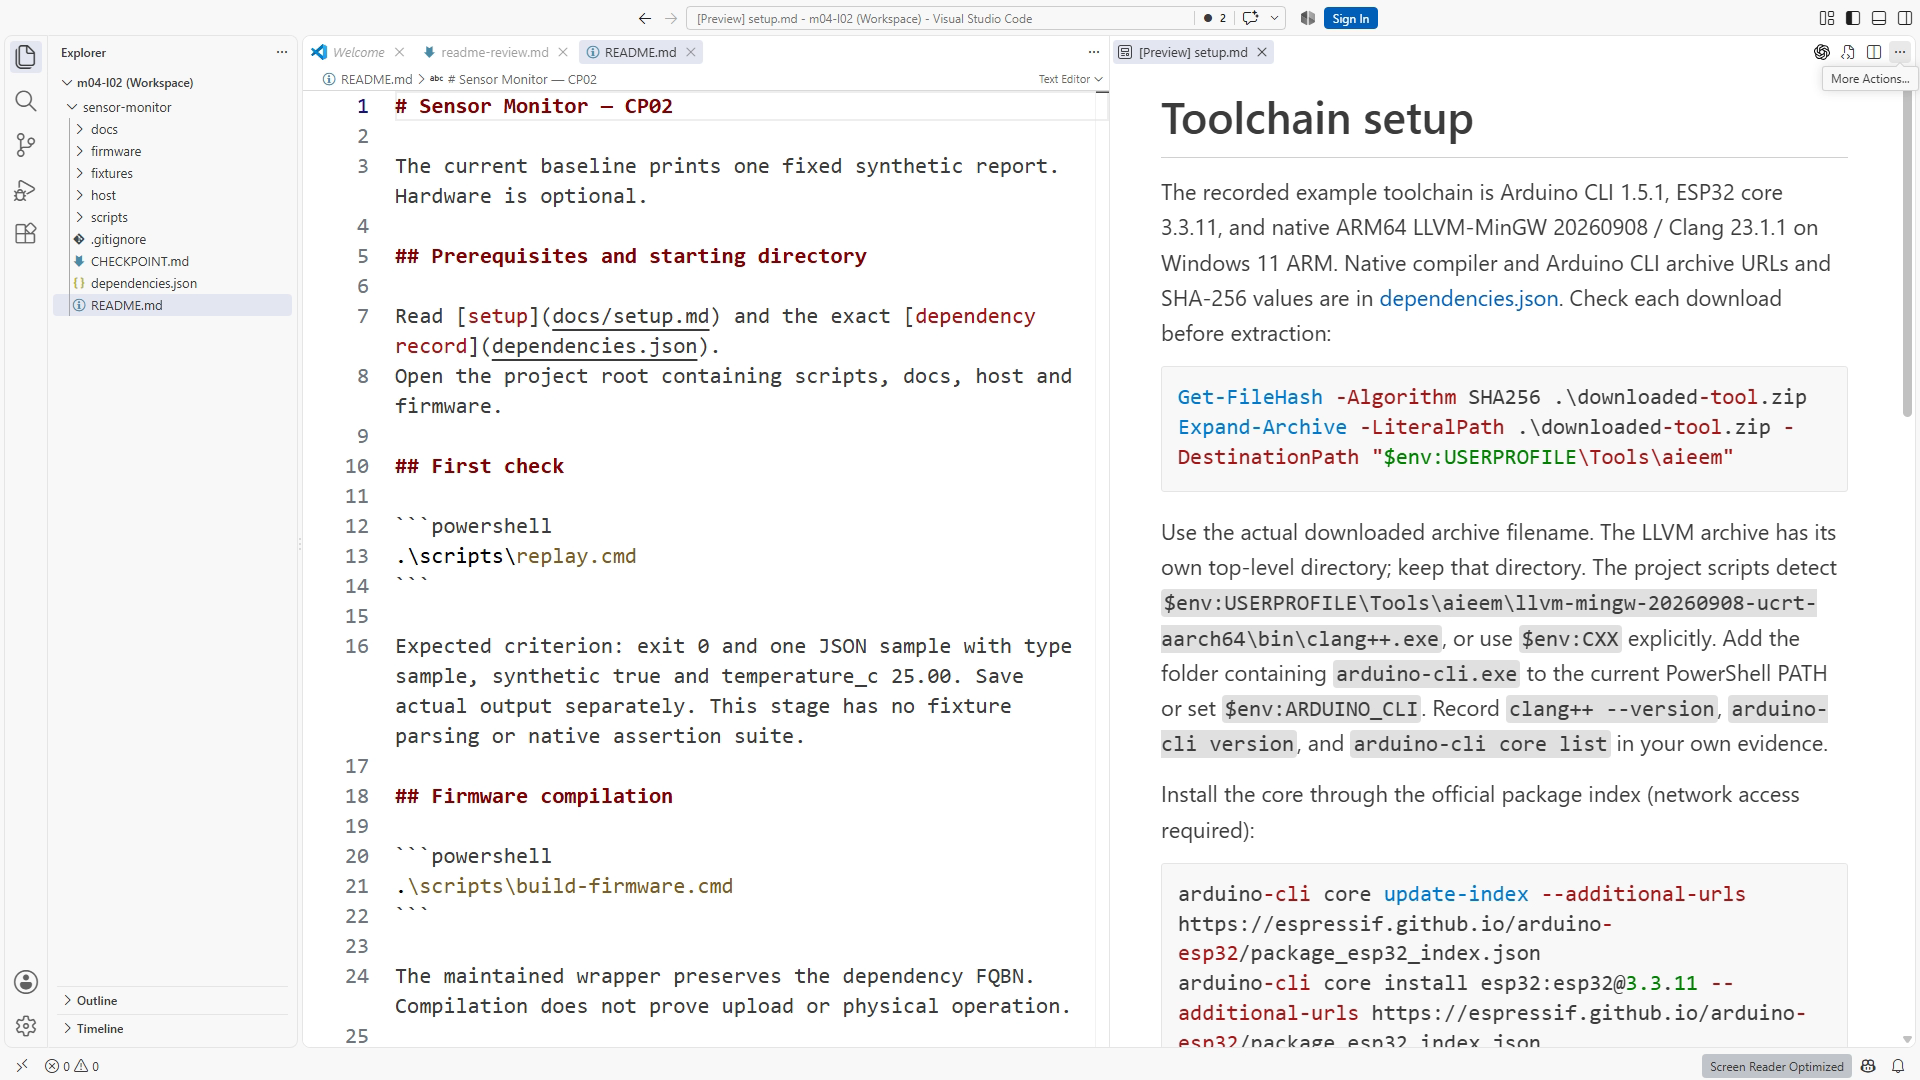
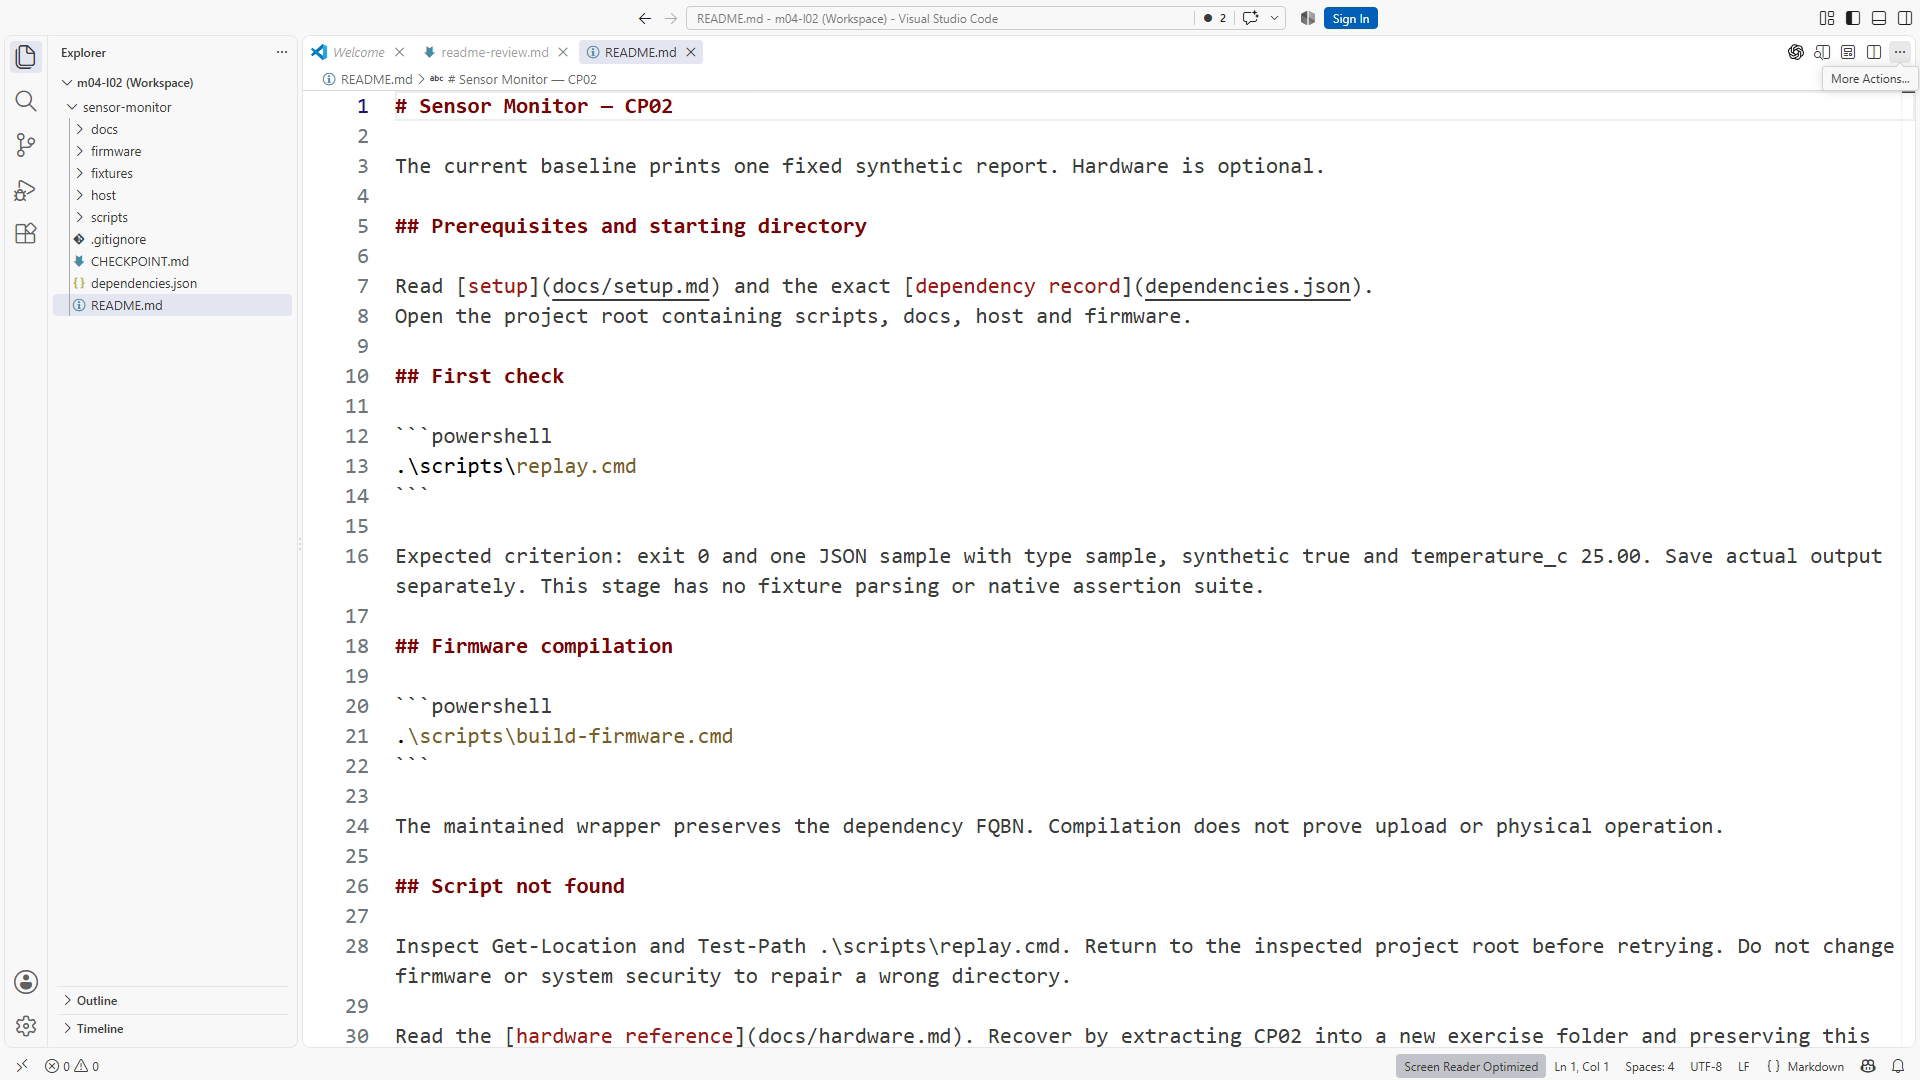
Start from this deliberately poor note: “sensor demo, compiler installed, run tests.” It omits the product's behavior, where the compiler comes from, which terminal to use, and what success means. Replace it with a purpose statement describing CP02’s fixed synthetic report. Shared policy and fixture parsing are planned for CP05. Link to the release's docs/setup.md and dependency record rather than copying a machine-specific path.
Read the supplied setup instructions as if you had no memory of installing the project. Identify the expected root folder. Confirm it contains scripts, docs, host, and firmware. List the host-replay command in a PowerShell fence. Put the firmware cross-build in a separate subsection because its evidence differs.
.\scripts\replay.cmd
The expected result is successful execution of the fixed synthetic baseline report, not a fabricated fixed output line. Save your actual command/result in exercise evidence. A failure caused by a missing tool is a useful setup finding; it does not prove a source-code defect. Follow the documented tool setup and repeat the check after the dependency is available.
Add a “Script not found” troubleshooting entry. Explain how to verify the current folder and the presence of scripts/replay.cmd before retrying. Avoid recommending broad machine changes for a simple working-directory problem. Add a hardware-reference link with a sentence explaining when it matters.
Now follow the README from its first step. Record every gap you had to fill from memory. If you silently changed directory or found a missing dependency elsewhere, revise the document. A second learner can provide extra feedback, but your own disciplined replay already exposes missing information.
Review the Git diff or compare the preserved files. The improvement should be a clearer setup path, not unrelated source changes. Read the rendered result at a narrow window width and ensure commands remain copyable. Figures SS08-03 and SS08-04 identify link navigation and the finished sections; actual screenshot content is evidence only for the captured demonstration.
CP02 prints the fixed expected line {"type":"sample","synthetic":true,"temperature_c":25.00}. This is expected output, not a claimed result of your run. The fixture parser and shared normal/fault policy arrive at CP05; host assertions arrive at CP07.
Resources and completion
Use the Sensor Monitor CP02 download and its README.md; project paths in this lesson are relative to that root. Read Chapter 8 for the full lab and explanatory review answers. Figure IDs: SS08-03, SS08-04. Primary references: Adafruit product 5477 and GitHub Markdown tables. Complete the exercise, preserve actual evidence, and use the separate instructor answer key for self-check after attempting the task. Narration scripts are production sources; final transcripts must match the actual narrated edit.
Recording transcript
A README is useful when someone can follow it without borrowing the author's memory. In this lesson, we will take a few terse notes and turn them into a short setup path. The outcome is a document that explains the purpose, prerequisites, starting directory, first check, expected result, and recovery from a common mistake. Use your previous Markdown exercise or a fresh copy of checkpoint two.
Consider this note: sensor demo, compiler installed, run tests. It probably meant something to the person who wrote it. For a new reader, almost every important question is still unanswered. What does the demo do? Which compiler is required? Where should the command run? Which tests are relevant? What does success look like? Improving the README means answering these questions in the order the reader encounters them.
Begin with purpose. Checkpoint two prints a fixed synthetic report. The project will separate policy from acquisition at checkpoint five, so shared C++ logic can process controlled inputs. There is also a documented firmware cross-build path. These are related activities with different evidence. Say early that the core exercise needs no physical board. A reader should not spend time solving a hardware prerequisite that the lesson does not have.
Move to prerequisites. Link to the release's setup document and dependency record. Avoid copying an incidental compiler location from your computer into the README. That path may help you today and fail for everyone else. A useful setup instruction names the required tool and points to the supported installation or configuration procedure. The release record identifies the versions that were actually checked.
Now establish the root directory. Open the project tree and identify scripts, docs, host, and firmware. The README lives at this level. Before presenting a relative command, write that it runs from the Sensor Monitor root. A returning learner may have opened a terminal in the docs folder or in the folder containing several exercise copies. The instruction should make that difference easy to notice.
Add the host-replay command in its own PowerShell block. Use the exact supplied command from the written lesson. Explain that it runs a reviewable wrapper using the documented local setup. Keep the terminal prompt and surrounding explanation outside the copyable block. A long line in a screenshot can help someone recognize the screen, but the written lesson must preserve a command that can be selected and copied directly.
Write the acceptance condition beside the command. The script must complete successfully, and its synthetic output must match the documented fixed synthetic report. Do not fabricate a fixed all-tests-passed line to make the README look finished. Your actual output belongs in a result record tied to your checkpoint and environment. A clearly labeled expected result is useful guidance. A made-up observation undermines the whole reproduction path.
Add a separate firmware-build subsection. The build wrapper preserves the selected board target and options. A successful cross-build supports a statement about compilation and linking for those inputs. It does not establish that a board was attached, that an upload succeeded, or that a sensor measured a temperature. Keeping this explanation near the command helps the reader interpret success accurately.
We can now add a practical troubleshooting entry. Name it Script not found. The first response should be to check the current folder and confirm that scripts slash replay dot cmd exists in the intended project. If the file exists elsewhere, navigate to the documented root and retry. This is a focused recovery path. Reinstalling every tool or changing broad security settings would hide the simple question we need to answer first.
Add a link to the hardware reference with a sentence explaining when it matters. For example, read it before changing board-specific settings. Follow the link in the rendered preview and verify the file that opens. Return to the README. If the reader has to guess which source applies to the selected board, your link label or surrounding explanation needs improvement.
Now perform the most revealing check: follow your README from the beginning. Pretend that you have no access to the old conversation. Do not silently fill a gap because you remember the answer. If you change directory, locate an unmentioned dependency, or use another document to understand an option, record that gap. The next revision should make the necessary step visible to the reader.
When a check fails, classify the failure before editing code. A missing compiler is a setup issue. A wrong directory is a navigation issue. A test reporting an incorrect result may be a source or expectation issue. The README should direct the reader toward the next discriminating check, not promise that one universal fix solves every error. Record the actual message so the recovery remains connected to evidence.
If another learner is available, ask them to follow the procedure and note where they hesitate. That is useful human feedback when it actually happens. If you review the procedure yourself or use an agent, label that review accurately. Do not turn an automated walkthrough into a claim that a beginner has tested the lesson. Different forms of review answer different questions.
Your exercise is to finish the six-part setup path and add one recoverable troubleshooting entry. Run the first documented check when the required tools are available. Submit the README and a short record of link checks, command, outcome, and unresolved prerequisites. If tool setup remains incomplete, the document work can still be useful, but the executable path remains an open check.
Finish by inspecting the diff and the rendered page. The diff should show a clearer procedure rather than unrelated firmware edits. The preview should remain readable in a narrow window, and the commands should remain copyable. You now have a README that does more than describe a project. It gives the next person a way to begin, recognize success, and recover when the first attempt does not work.
Download transcript