M02-L04 — Stage and commit a useful change
Outcome: Create a commit whose selected content and message explain one useful change.
Start: M02-L03 with the reviewed README edit still unstaged.
Staging selects content for the next commit. It is a snapshot at the time you add it; later working edits do not automatically join that selection. A commit records the staged snapshot with metadata and history relationships. Pro Git recording changes, git commit
Confirm the CP01 baseline exists, the README edit is the intended one, and your repository-local identity uses your chosen name and actual GitHub no-reply address when desired. Commit identity is not remote authentication. Do not copy another learner's email or reveal a private address in a recording. GitHub commit email
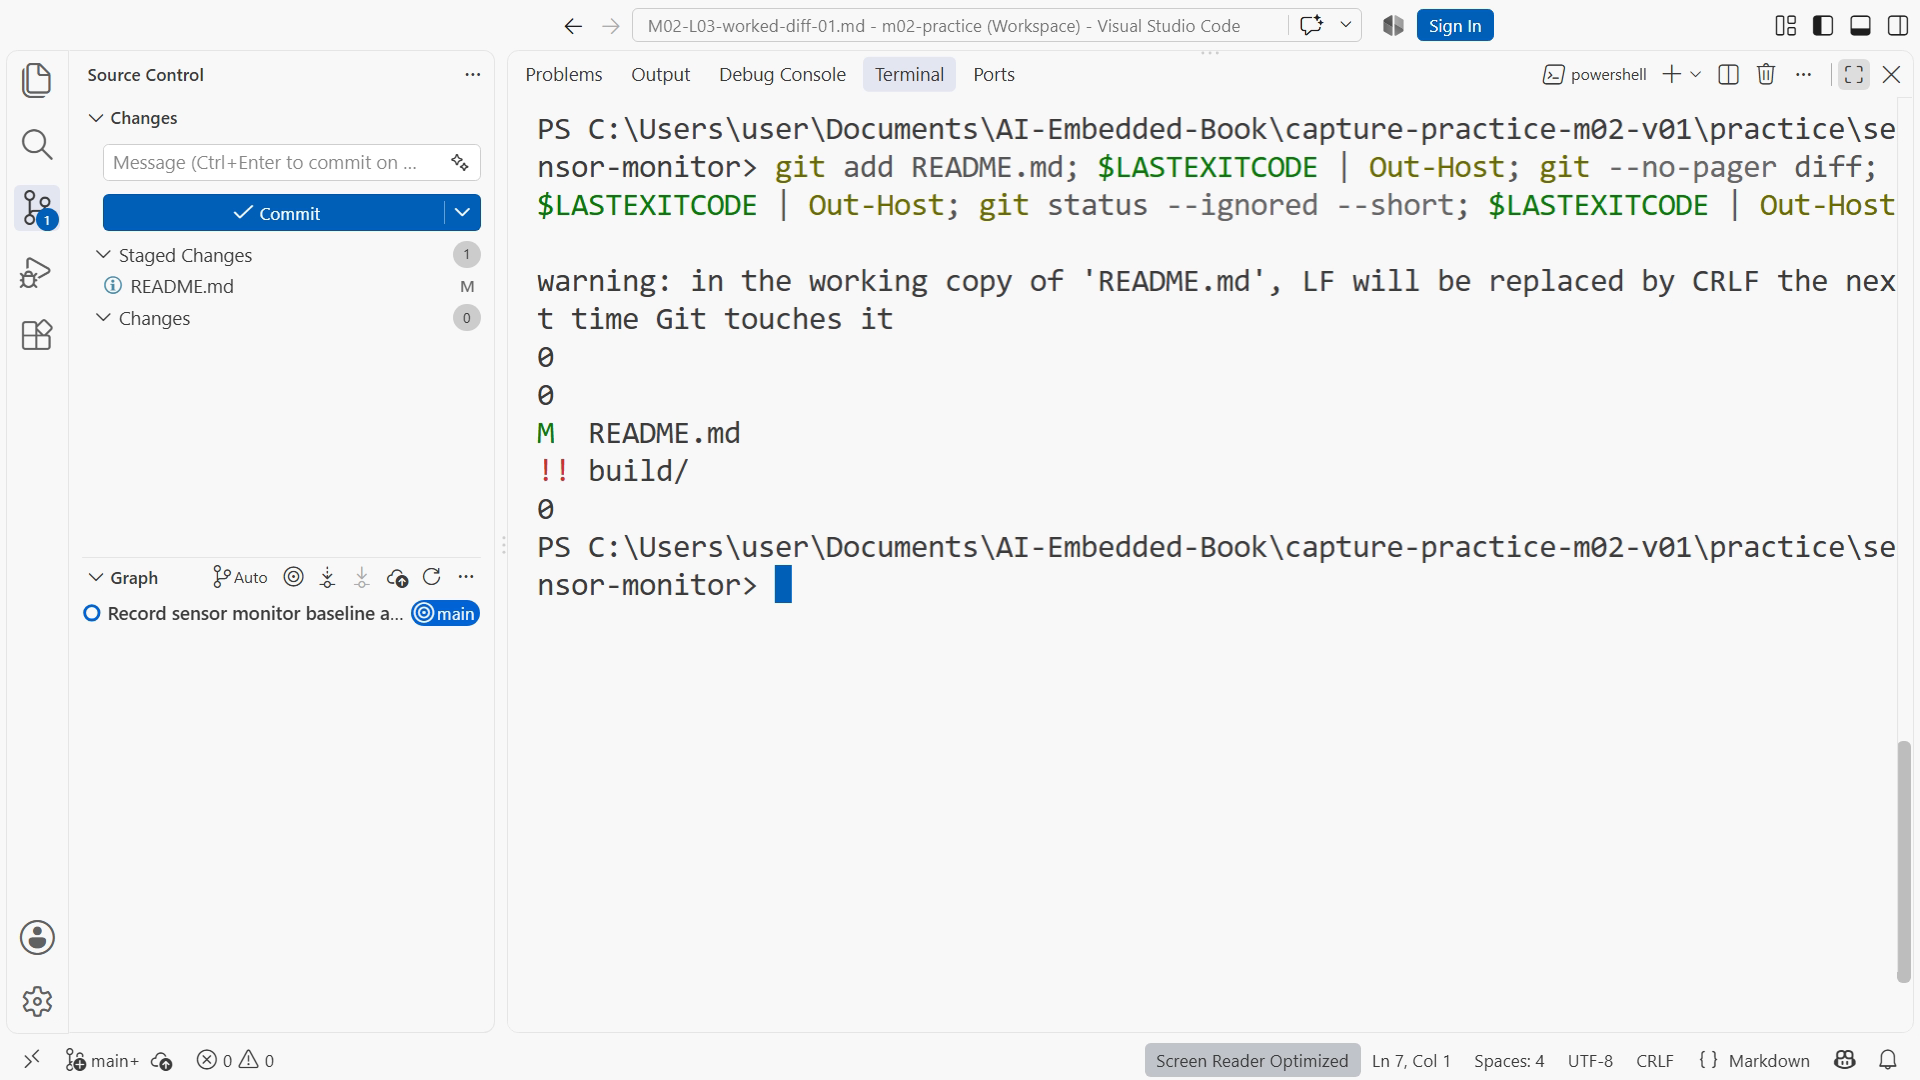
From the practice root, stage the exact file and inspect both comparisons:
git add README.md
git status
git diff
git diff --cached
The intended label edit moves to the cached comparison. Read it before committing. If you edit README again, the working and staged versions may differ; inspect both and stage the later change only if it belongs in the same commit.
Commit with a purpose-focused message, then inspect the two-entry history:
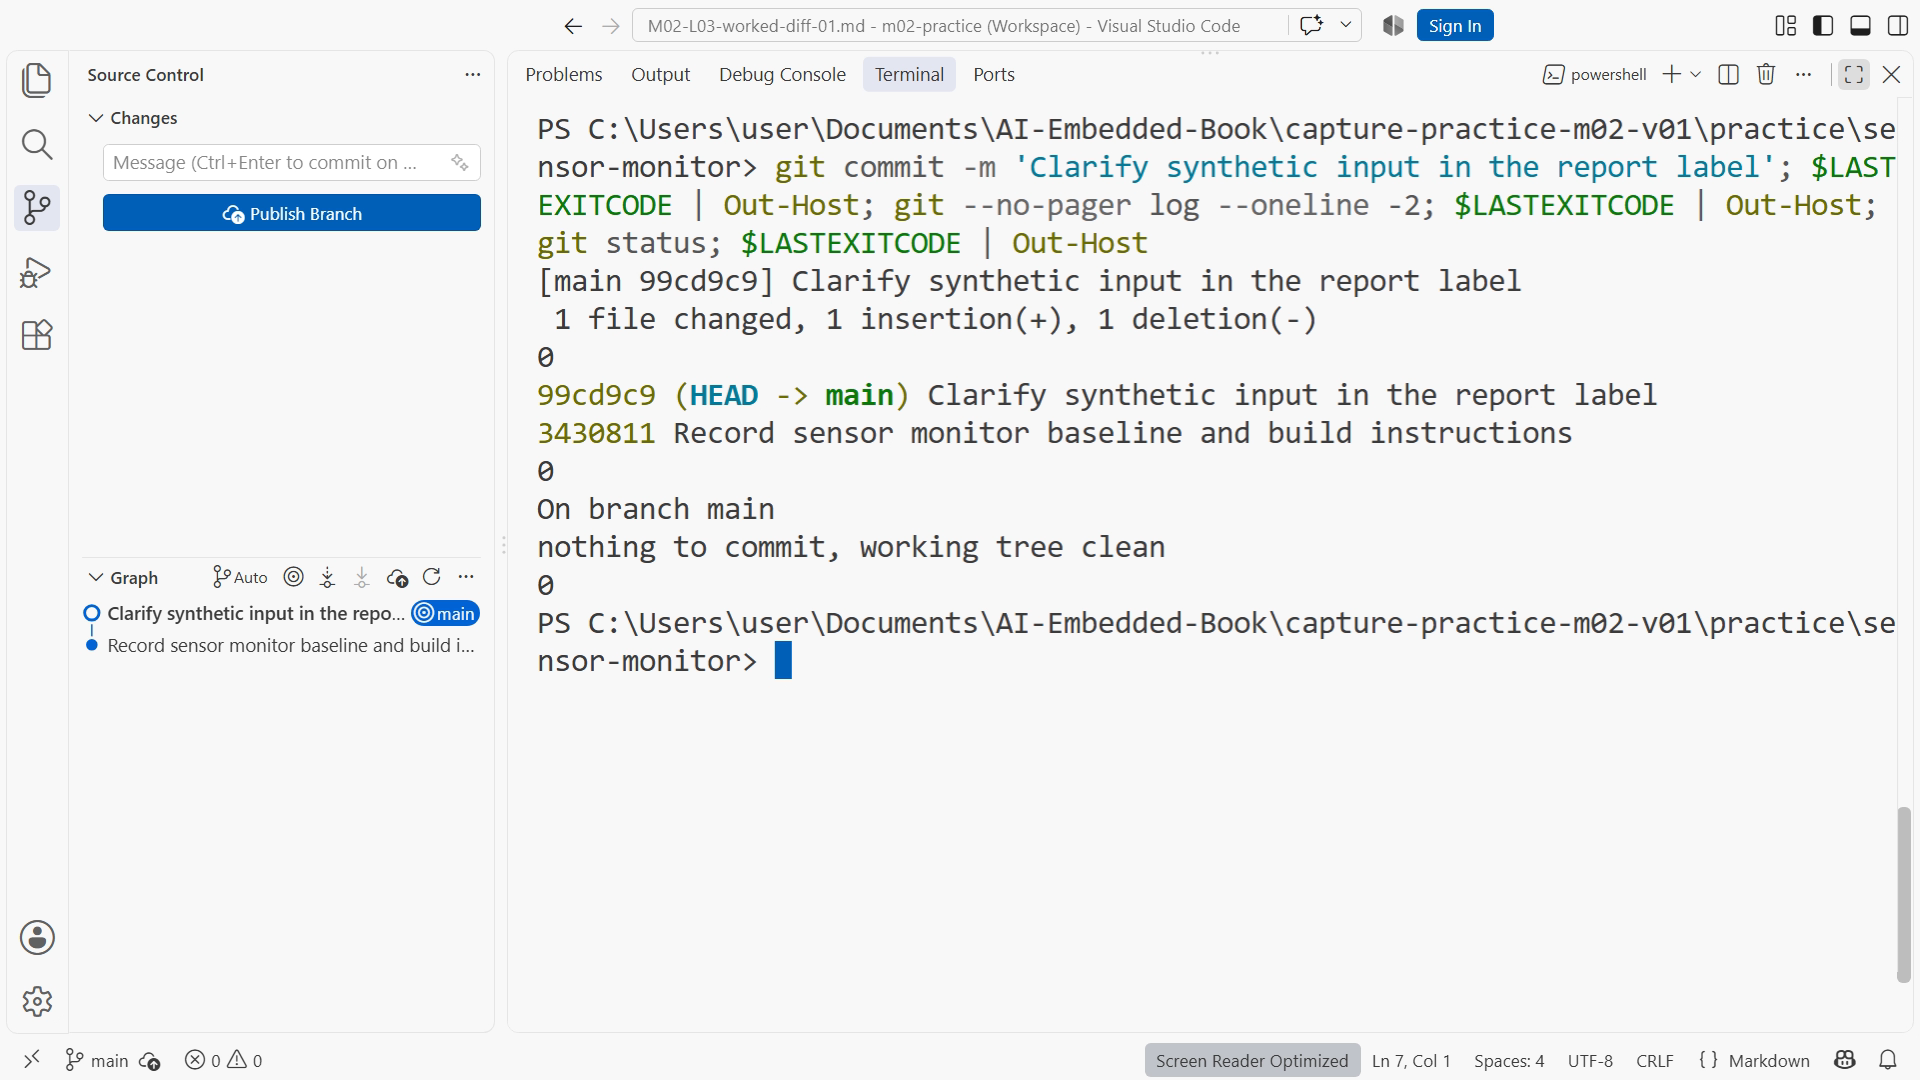
git commit -m 'Clarify synthetic input in the report label'
git log --oneline -2
git status
Your commit identifier will differ from the instructor's because metadata contributes to it. Assess the content and message, not exact hash equality with a screenshot. A clean final state confirms repository agreement; keep any software verification result separate.
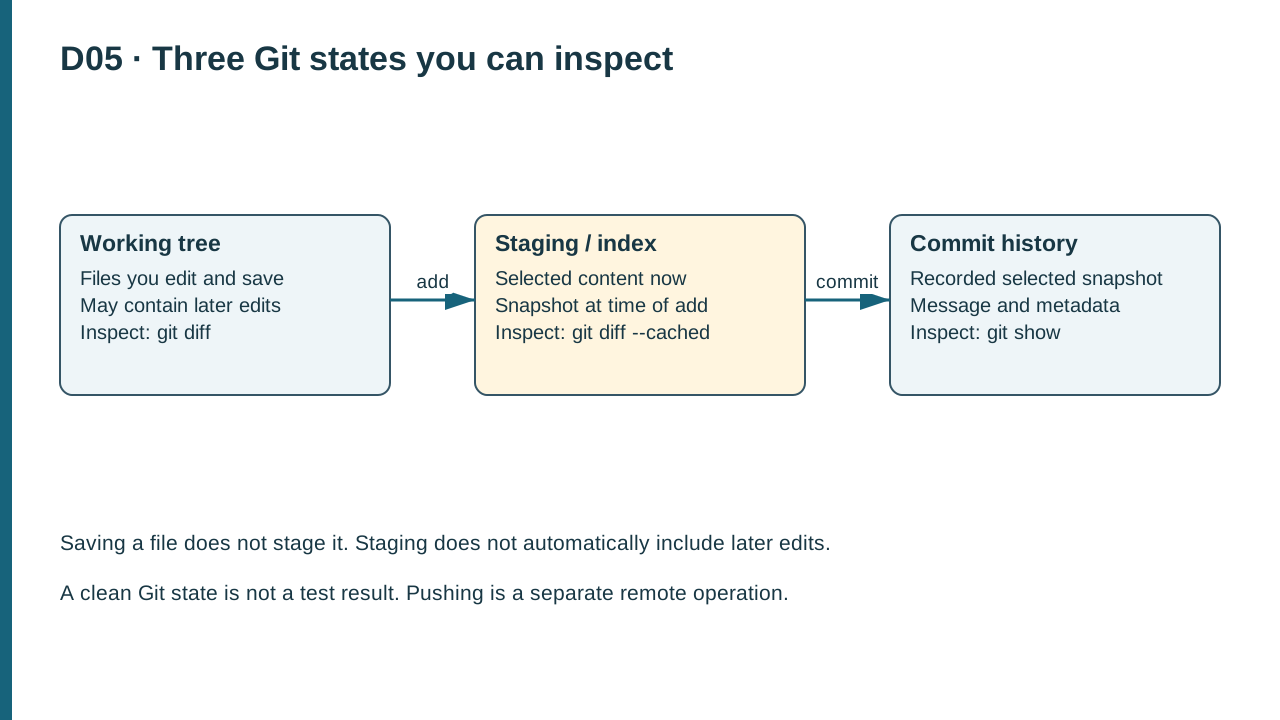
D05. Saving changes the working tree; add selects contents in staging; commit records that selected snapshot. Ordinary and cached diffs compare different states.
Practice and completion
Complete the exercise, then compare your artifact with the separately distributed instructor answer. A lesson acknowledgment records your own progress; it does not certify that a physical test occurred.
Chapter 5. Resources: Project checkpoint guide and toolchain setup. Figure references: SS05-01; SS05-04–05; D05.
Recording transcript
We have inspected a small README edit. Now we will select that exact content and record it as a useful commit. The important idea is that staging and committing are separate actions. Staging chooses what belongs in the next snapshot. Committing records that selected snapshot with a message and its place in history.
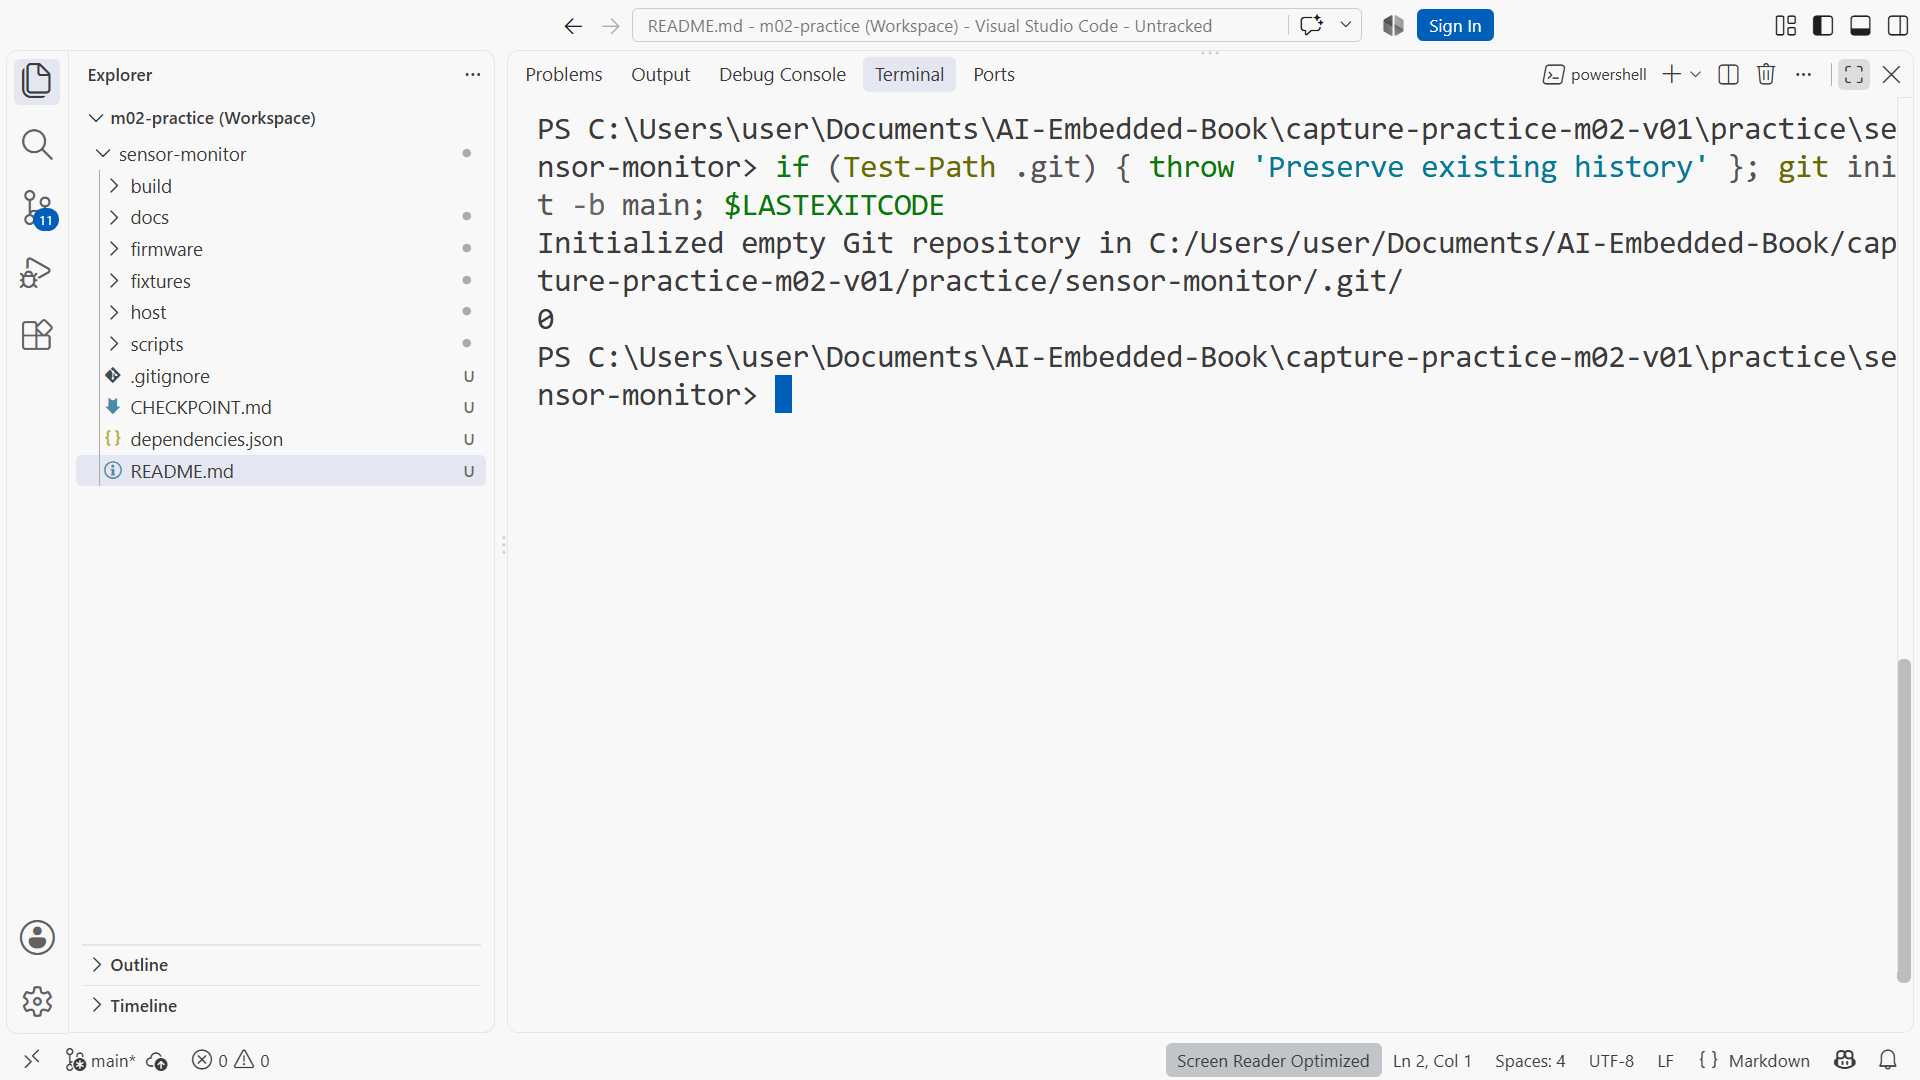
Start in the same CP01 practice repository from the previous lesson. Confirm the current folder and run Git status. The intended README change should still be visible. Inspect the ordinary diff again so that the content you remember matches the content currently on disk. If another edit appeared since the last lesson, account for it before proceeding.
Check the baseline history. The first commit records the reviewed project source and build instructions. Our next commit will clarify the synthetic input label. Two purposeful commits are easier to understand than a single vague record containing setup, generated output, experimental code, and wording changes all mixed together.
Before committing, make sure repository-local identity is configured. Use your chosen author name and the exact no-reply address shown in your GitHub settings if you want that privacy option. These settings describe authorship. They do not authenticate a push to GitHub. Keep private addresses out of screenshots and do not copy the instructor's identity into your own work.
Stage the exact README path using Git add README dot md, or the file's stage control in the editor. Read the result in Source Control. The file now appears under Staged Changes. That is a selection for the next commit, not a statement that the file is correct. You are responsible for checking the content selected.
Run the ordinary diff and the cached diff. The ordinary comparison should no longer show the label edit if the working file matches staging. The cached comparison should show it against the baseline commit. Read the removed and added lines again. This is the final concrete artifact you are choosing to preserve.
Notice why we stage a named file instead of adding everything by habit. The project can contain temporary notes or generated output that do not belong with this change. A broad selection might be appropriate after a complete review, but it should follow that review rather than replace it. Here one named README gives us a clear, small boundary.
Write a commit message around purpose. Clarify synthetic input in the report label explains why the line changed. Messages such as update, fix stuff, or AI changes leave the next reader guessing. The assistant's involvement is not the behavior of the project. History is more useful when it tells us what problem changed and what the resulting artifact does.
Run the commit command from the lesson. Inspect its actual result, then run the short history command. You should see the new label commit followed by the baseline. Your identifiers and timestamps will differ from the video's. That is expected because commit metadata contributes to the identifier. Do not try to reproduce the instructor's hash by changing your identity or clock.
Run Git status again. A clean state means the relevant tracked states agree and no ordinary untracked candidates are listed. It does not prove a host check or firmware build passed. Our change is a wording edit, so we inspected its meaning directly. If you later commit source behavior, preserve the relevant command results alongside the source version.
Now we will explore a state that often confuses beginners. After the label commit, make a harmless new README sentence and stage it. Then edit that sentence again without staging a second time. The editor may show the same file as both staged and unstaged. That is not a contradiction: the staging area and working tree contain different snapshots.
Inspect both diffs. The cached view shows the version selected when you ran add. The ordinary view shows the later change relative to that selected version. If you committed now, Git would record the staged content. It would not automatically choose the latest text visible in the editor just because the file name is the same.
Decide which version you want. If both edits belong in one meaningful change, save the final text and stage it again after review. If the later edit is only an experiment, preserve anything useful and return the file deliberately to the chosen version. Do not discard content simply to make status quiet before understanding what each snapshot contains.
This mechanism is valuable when used intentionally. You can keep work in progress while selecting a coherent improvement for history. For now, prefer simple file-level boundaries. Later, individual hunks can help separate overlapping edits, but the underlying idea stays the same: the next commit contains selected content, not an uncontrolled copy of every current thought.
Your exercise submission includes the two latest history entries, a summary of the current commit, and an explanation of the staging experiment. Another person should be able to connect the message with the actual diff. If they cannot tell what the commit does, improve the explanation or split unrelated work before proceeding.
You can inspect the current commit with Git show after recording it. That comparison is a useful final check that the snapshot matches your intention. If it contains less than expected, you may have left an edit unstaged. If it contains more, review how the selection was made before continuing. Do not assume a good commit message repairs the wrong content. The message and snapshot need to agree, and the next operation should follow the actual state.
We have now built the basic local cycle: inspect state, review the change, select content, review the selected snapshot, and commit a meaningful unit. Nothing has been uploaded. In the next challenge we will deliberately stage harmless generated output and recover without deleting useful files. After that, the GitHub module will add a carefully verified remote copy and a second-checkout reproduction.
Download transcript